Videos
Check out our tutorial video series.
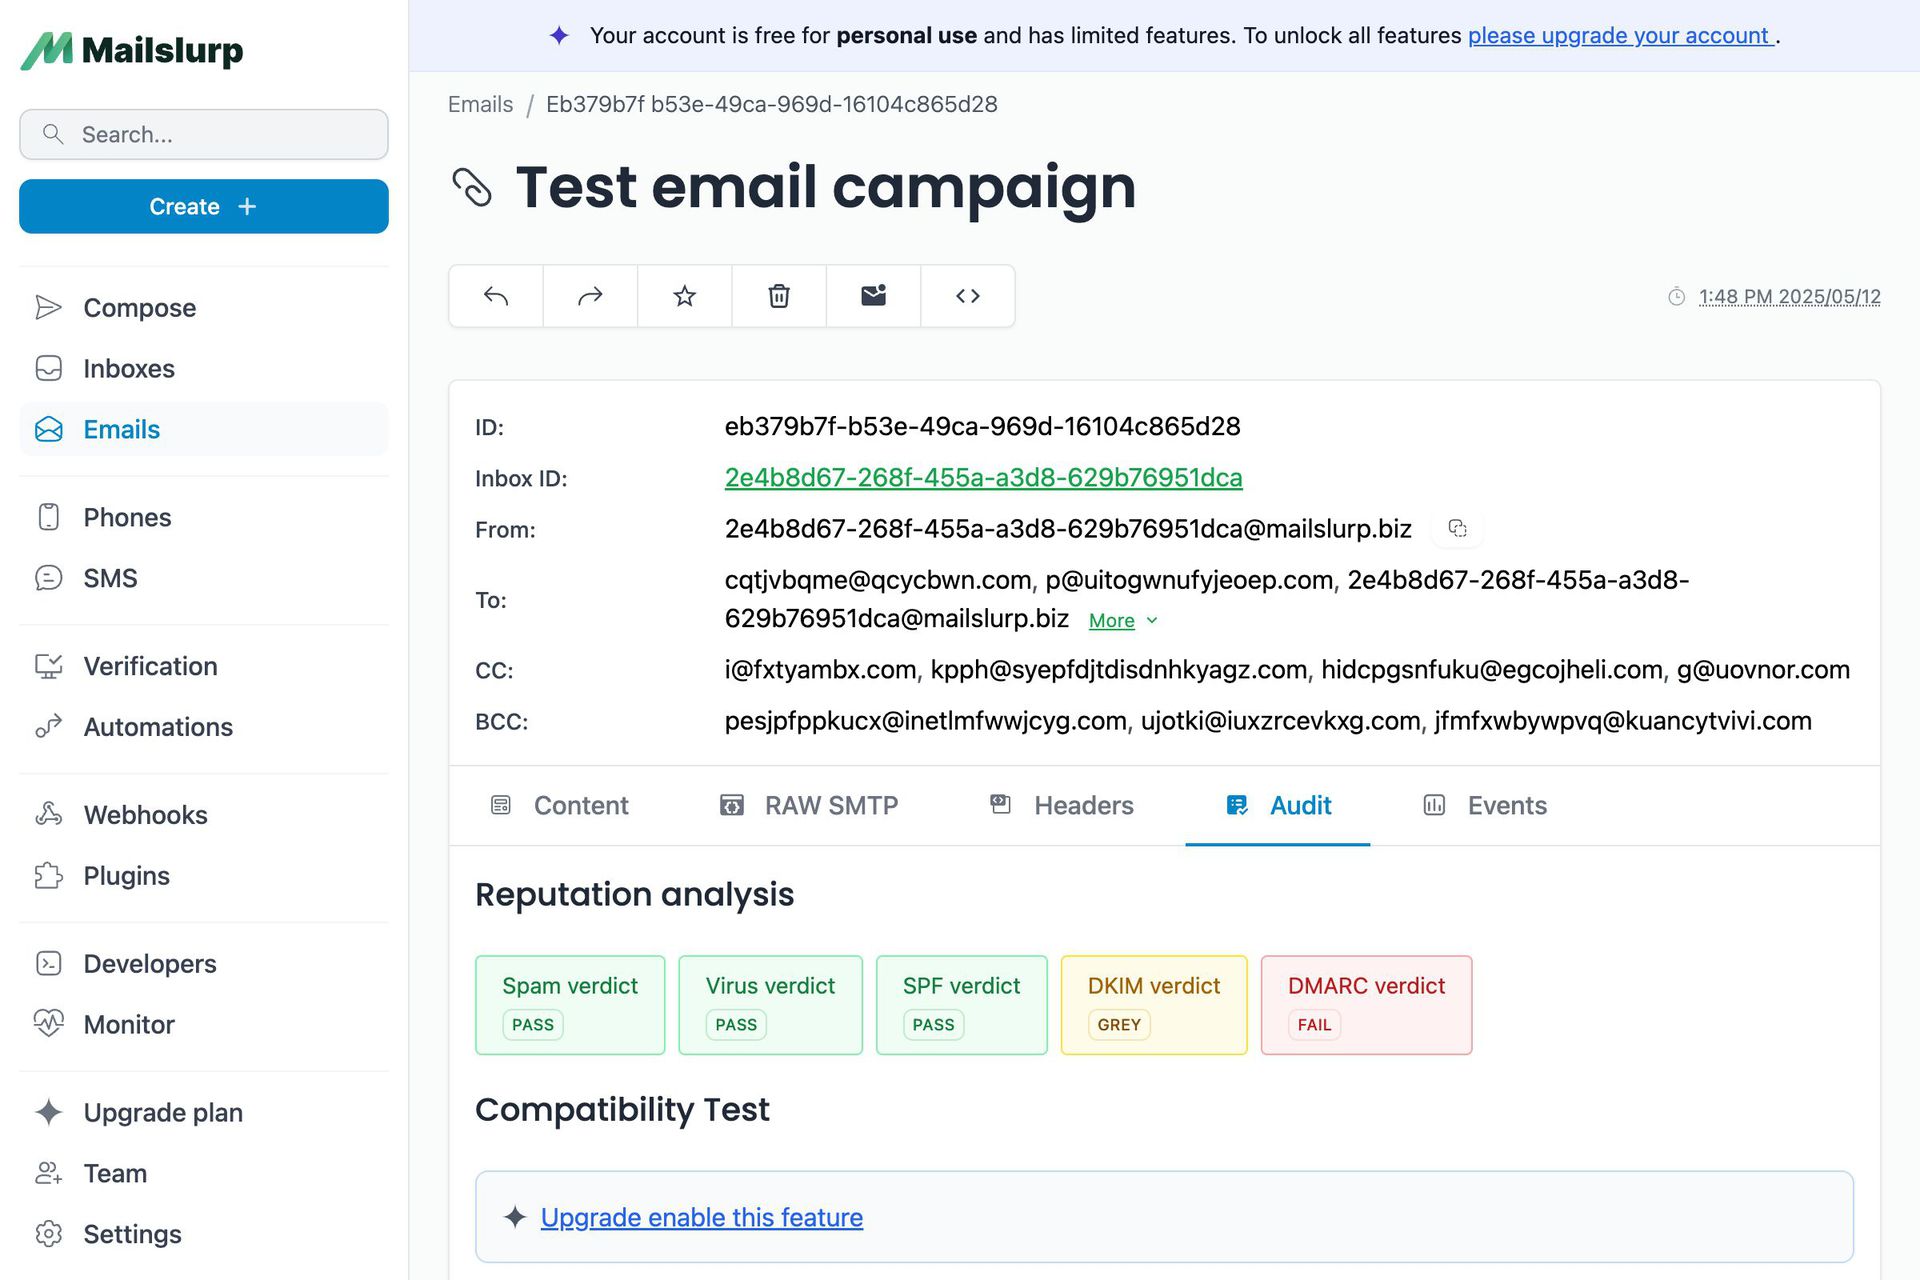
Learn how to secure your emails with DKIM, SPF, and DMARC. This guide covers detailed setups and configurations to protect email authenticity and prevent spoofing.

Email security is critical for ensuring the authenticity and integrity of email communications. Three primary mechanisms—DKIM, SPF, and DMARC—work together to prevent email spoofing and prevent phishing attacks. This guide will explain each mechanism in detail, how they interoperate, and provide step-by-step instructions for configuring these records to secure your email domain.
DKIM (DomainKeys Identified Mail) is an email authentication method designed to detect forged sender addresses in emails. It allows an organization to take responsibility for transmitting a message, which is validated by the recipient through cryptographic authentication.
SPF (Sender Policy Framework) is an email authentication protocol that allows the owner of a domain to specify which mail servers are permitted to send emails on behalf of that domain. SPF records are published in the DNS (Domain Name System).
DMARC (Domain-based Message Authentication, Reporting, and Conformance) is an email validation system designed to protect domain names from being used for email spoofing. It builds on the DKIM and SPF protocols, adding a reporting function that allows domain owners to receive feedback on how their email authentication policies are being enforced.
These three protocols work in conjunction to authenticate email messages and protect against email spoofing:
SPF ensures that incoming emails come from IP addresses authorized to send emails from the domain.
DKIM allows the receiver to check that an email claimed to have come from a specific domain was indeed authorized by the owner of that domain.
DMARC ties the results of SPF and DKIM together, providing instructions on how to handle emails that fail authentication checks. It also provides a reporting mechanism.
To complete SPF configuration, follow these steps:
1. Identify Your Sending Sources
2. Create a SPF Record
3. Publish the SPF Record
4. Test the SPF Record
For a more detailed guide, check out Setting Up Custom Domains with MailSlurp.
To set up DKIM configuration, follow these steps:
1. Generate DKIM Keys
2. Publish the DKIM Public Key
3. Configure Your Email Server
4. Test DKIM Configuration
To complete DMARC configuration, follow these steps:
1. Create a DMARC Record
2. Publish the DMARC Record
3. Monitor DMARC Reports
4. Adjust the DMARC Policy
DKIM allows a domain to take responsibility for an email message by affixing a digital signature linked to the domain. This signature is validated by the recipient's mail server, ensuring that the message has not been altered and confirming its origin.
For more information on automating these tasks, refer to Email Testing with MailSlurp.
SPF allows domain owners to specify which IP addresses are authorized to send email on behalf of their domain. This helps prevent spammers from sending messages with forged sender addresses.
DMARC builds on DKIM and SPF by adding a reporting mechanism and providing domain owners with the ability to specify how to handle emails that fail authentication.
For more on automating email handling and monitoring, check out Using Webhooks to Automate Email Handling.
Implementing DKIM, SPF, and DMARC is essential for securing your email domain against spoofing and phishing attacks. By following the steps outlined in this guide, you can configure these protocols to authenticate your emails, protect your domain’s reputation, and ensure the integrity of your communications. Regularly monitor and adjust your settings to maintain a robust email security posture. For more detailed guidance and tools to manage your email security, visit Mailslurp.
For further reading on ensuring your emails are delivered correctly, refer to Email Deliverability Testing. To learn more about creating and managing email inboxes for testing, see Creating and Managing Email Inboxes with MailSlurp.
Check out our tutorial video series.
Email and SMS guides for automation and testing.
View github project code for multiple languages.
Latest posts from the MailSlurp team.
Test, build, and automate messaging with a free MailSlurp account.